Choosing the right projection screen for your room
A practical way to compare screen types, room constraints, image shape and projector fit before specifying a projection screen in Singapore.
Compare fixed, retractable and portable projection screens against room use, sightlines, casing space, surface flatness, aspect ratio and the projector you plan to use.
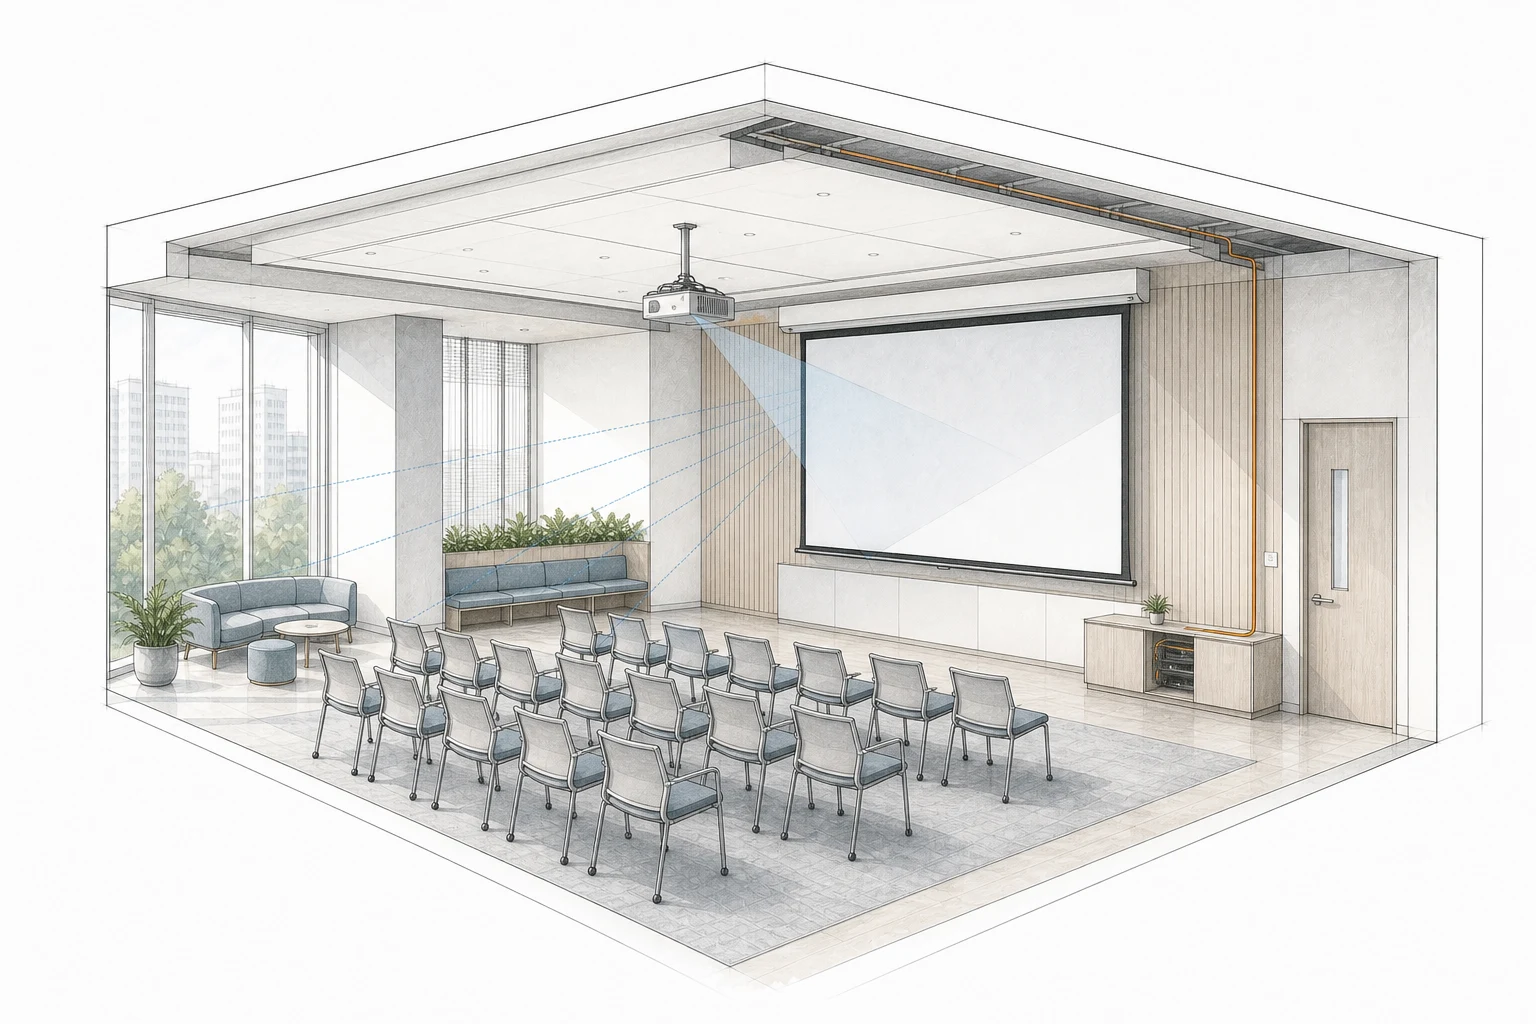
Select a numbered marker to inspect the room detail.
A screen is part of the room geometry. The right choice depends on how the room is used, where people sit, what can be mounted, and whether the projector and surface are a good optical match. Use this guide to narrow the brief; final suitability still needs a model, lens and site check.
1. Start with the room use
A boardroom may need a screen that disappears between meetings. An auditorium or worship room may prioritise a large image and consistent sightlines. A function room or event setup may need a screen that can be stored and moved. Note the audience, viewing distance, seating spread, frequency of use and whether the wall must remain available for other work.
2. Compare the main screen types
Screen types and installation envelope
Compare the visible image with the casing, frame, recess and service envelope that the installation actually occupies.
| Type | Useful when | Check first |
|---|---|---|
| Fixed frame | A permanent, flat image surface is acceptable and the wall can be dedicated to the screen. | Wall width, frame depth, border, sightlines and whether a UST projector needs a particularly flat surface. |
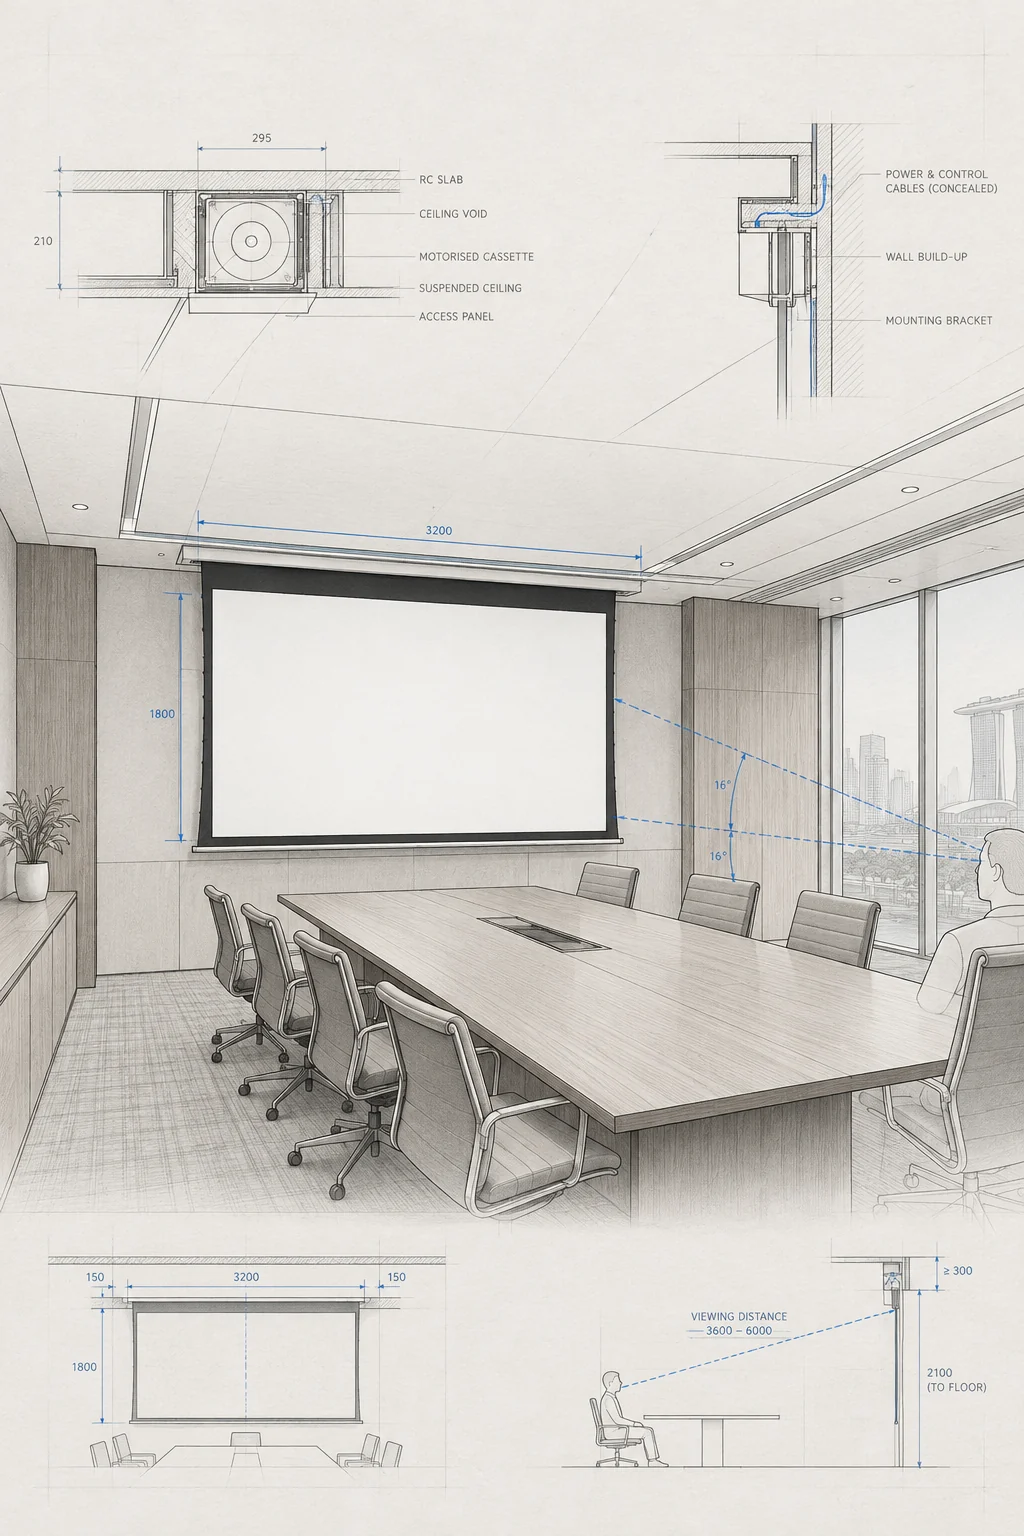
| Motorised or manual retractable | The wall needs to serve other purposes when the screen is not in use. | Casing length and depth, drop, bottom-bar clearance, control/power route and whether the surface remains suitably flat. |
| In-ceiling / recessed | A concealed installation is important and the ceiling can accept the casing and access requirements. | Cavity dimensions, structure, service access, total casing width and coordination with ceiling trades. |
| Floor-rising | A wall or ceiling mount is not available, or the screen needs to be deployed from the floor. | Storage position, stability, rise height, power and whether furniture blocks the image. |
| Tripod or portable | The system moves between rooms or is used for occasional events. | Transport, setup time, footprint, stability and the practical image size from the available seating. |
| Tab-tensioned | A retractable screen needs better surface control for a demanding image or UST pairing. | Tensioning system, casing, drop, service access and compatibility with the projector and room lighting. |
3. Check flatness, especially for UST
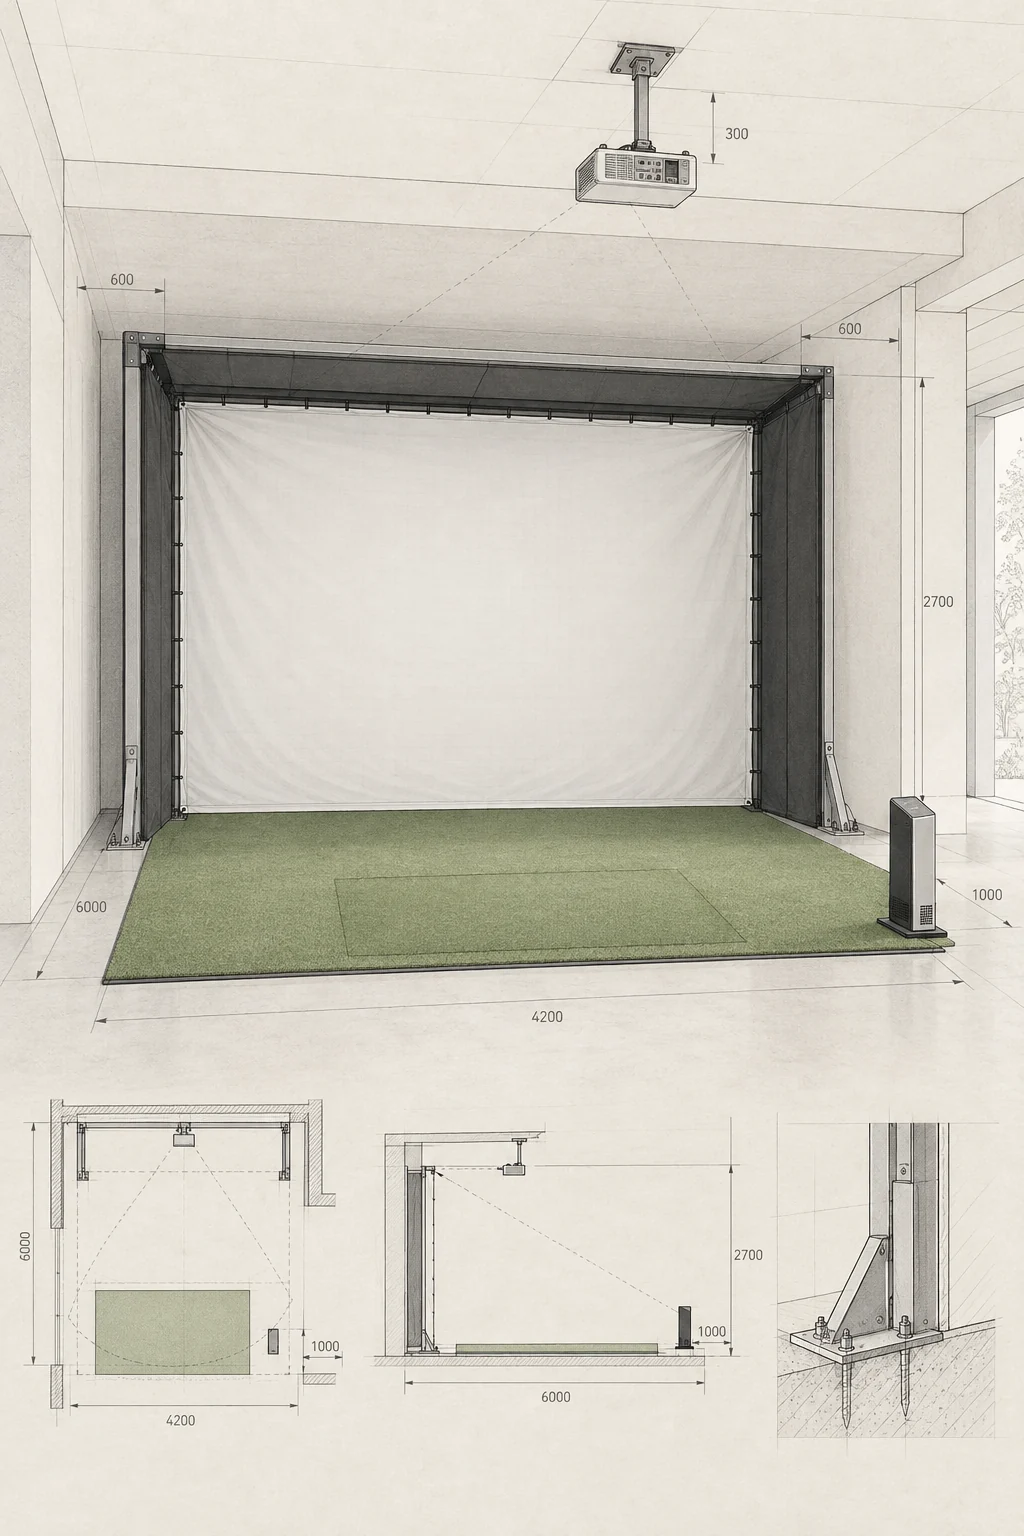
Ultra-short-throw projection is close to the screen and makes small surface deviations more visible. A fixed-frame or tab-tensioned surface may be a better starting point than a loose pull-down surface, but the actual projector, screen material and installation still need to be checked together. Do not treat a screen category as an automatic guarantee of image quality.
4. Measure casing and total width
Measure the complete installed envelope, not only the visible image. Include the screen casing, brackets, end caps, frame, cabling and any clearance needed for service. A screen can fit by image width and still fail at the wall because a door, beam, column, curtain track or air-conditioning unit occupies the remaining space.
5. Check ceiling, recess and drop constraints
For a ceiling or wall installation, record the finished ceiling height, mounting surface, available recess, beam locations, sprinkler and lighting conflicts, and the space below the casing. In Singapore homes, HDB, condominium and landed-room constraints can differ, so use the actual finished dimensions rather than a standard ceiling assumption. The visible image must drop far enough for the back row without placing the front row in an awkward sightline. The correct bottom edge varies with seating, room use and furniture; it is not a universal height.
6. Protect the sightlines
- Mark the nearest, furthest and widest seats.
- Check that heads, lights, beams and furniture do not cut through the image.
- Check whether the screen is centred on the seating or on the room architecture.
- For a shared office or classroom, allow for the people who sit off-axis, not just the centre seat.
7. Select aspect ratio and image size together
Aspect ratio is the relationship between image width and height. 16:9 is common for video and many home or presentation sources; 16:10 appears in some office and education workflows; 4:3 or 1:1 can suit legacy presentation material or a room that needs a squarer image. Confirm the actual source devices before choosing a screen. A diagonal size alone is not enough because two screens with the same diagonal can have different widths and heights.
8. Treat gain as a viewing trade-off
Gain describes how a screen material distributes reflected light relative to a reference. Higher gain can direct more light toward part of the audience, while lower or near-1.0 gain materials may favour a wider, more even viewing area. The trade-off can include viewing angle, uniformity and hot-spotting. Choose from the room's light, seating spread and projector output—not from a gain number alone.
9. Match the screen to the projector
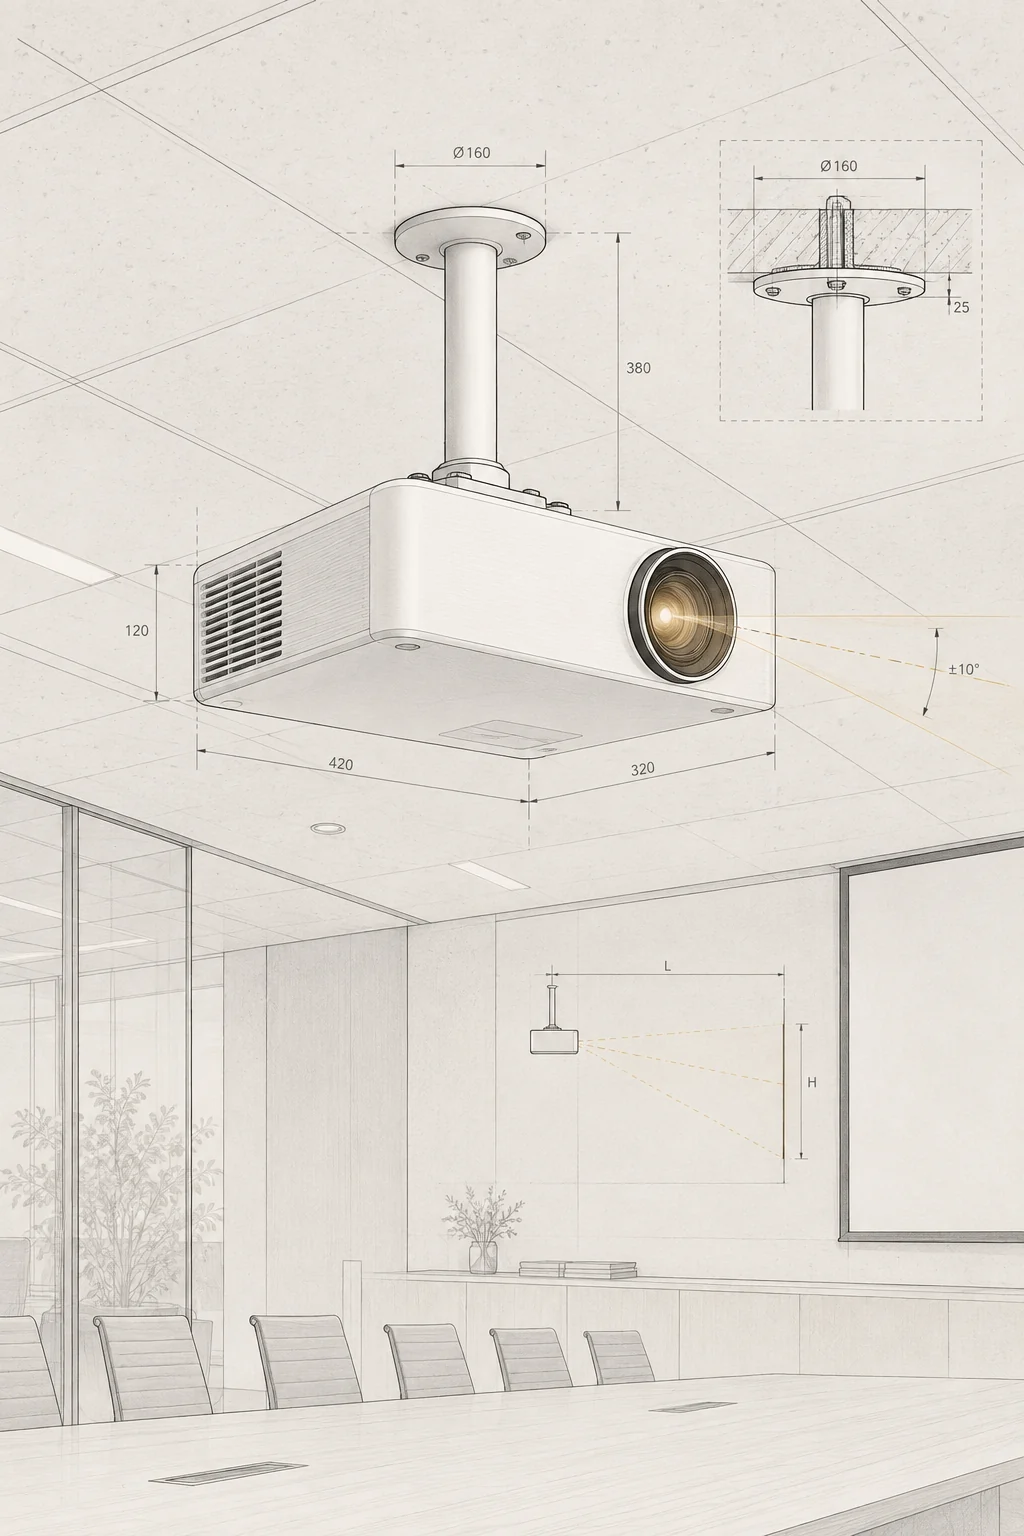
The projector's throw ratio, lens range, image offset, brightness, resolution, mounting position and input format all affect the screen decision. A screen that fits the wall may still be wrong for the projector's throw or image height. Confirm the projector model and lens, intended image width, ambient light and mounting point before ordering.
Measurement checklist
- Wall-to-wall width and finished ceiling height
- Visible image width and preferred aspect ratio
- Full casing/frame width, depth and end clearances
- Recess or pelmet dimensions, including access and structure
- Nearest and furthest viewing positions plus seating height
- Projector make/model, lens or throw-ratio range and mounting point
- Ambient light sources, windows, luminaires and blackout options
- Power/control route and any ceiling, wall or fire-safety coordination
- Photos from the wall, projector position and main viewing seats
Next action
Send the measurements, photos and projector model to the project team. A room-specific review can then check image size, screen envelope, sightlines and throw geometry. This guide is planning information; it does not promise price, scope, timing, electrical or ceiling work, or suitability before the model and site are verified.
Keep planning.
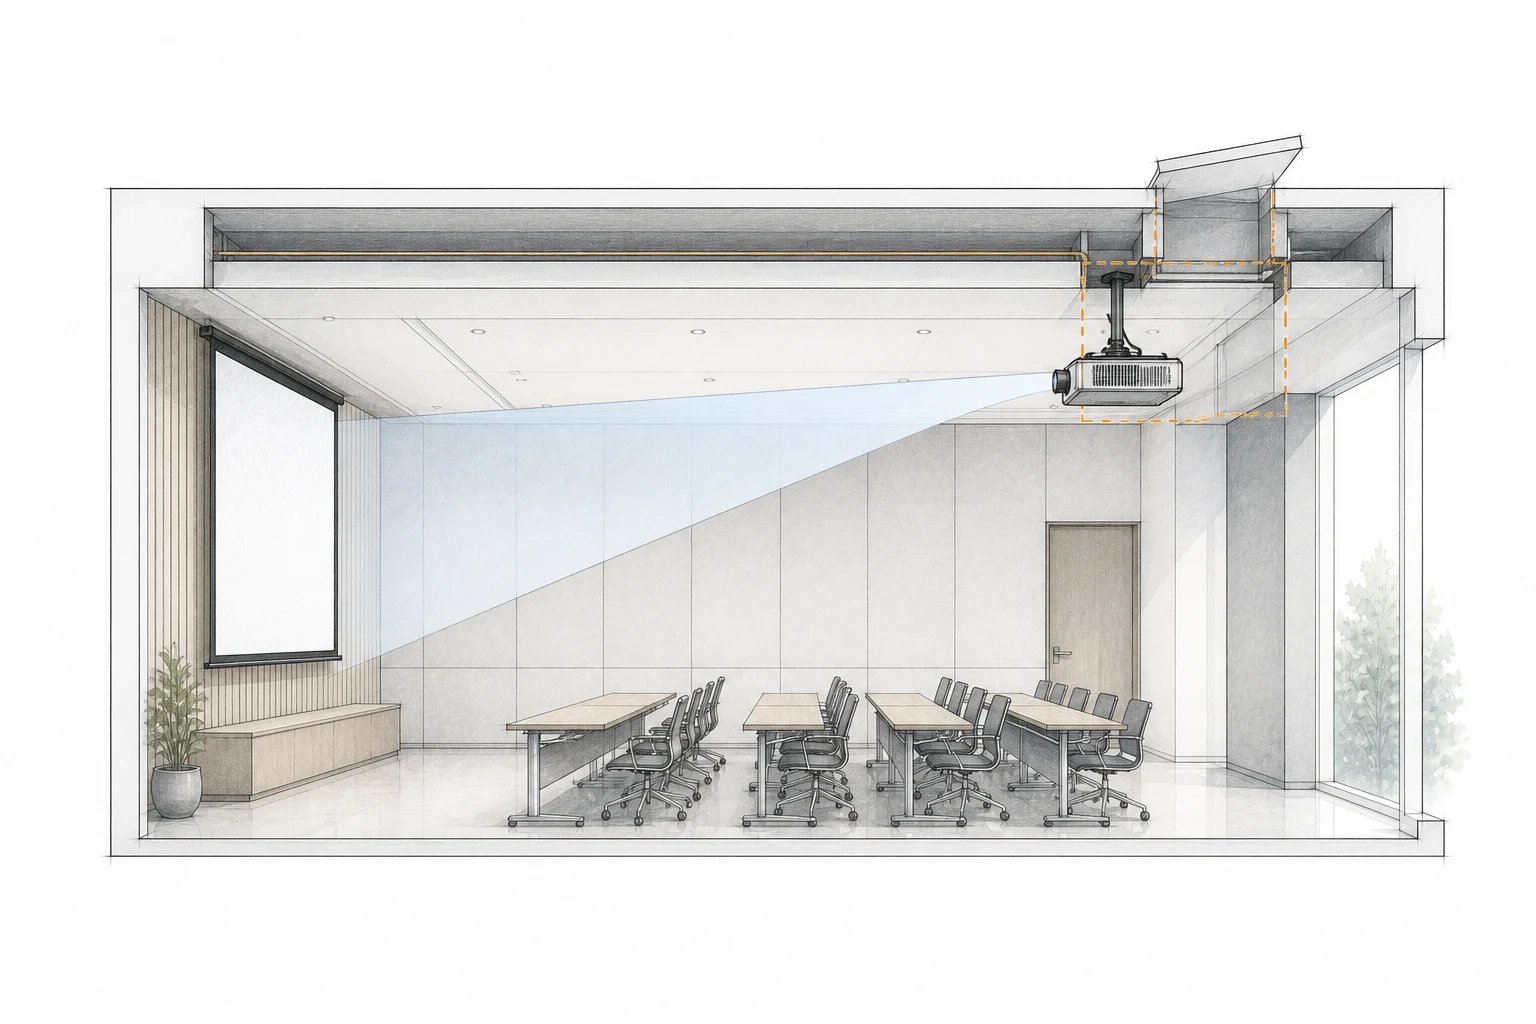
Start with a photo-first room survey
Send a straight-on wall photo, room dimensions, viewing positions and the projector model for a model-specific review.
Start with a photo-first room survey