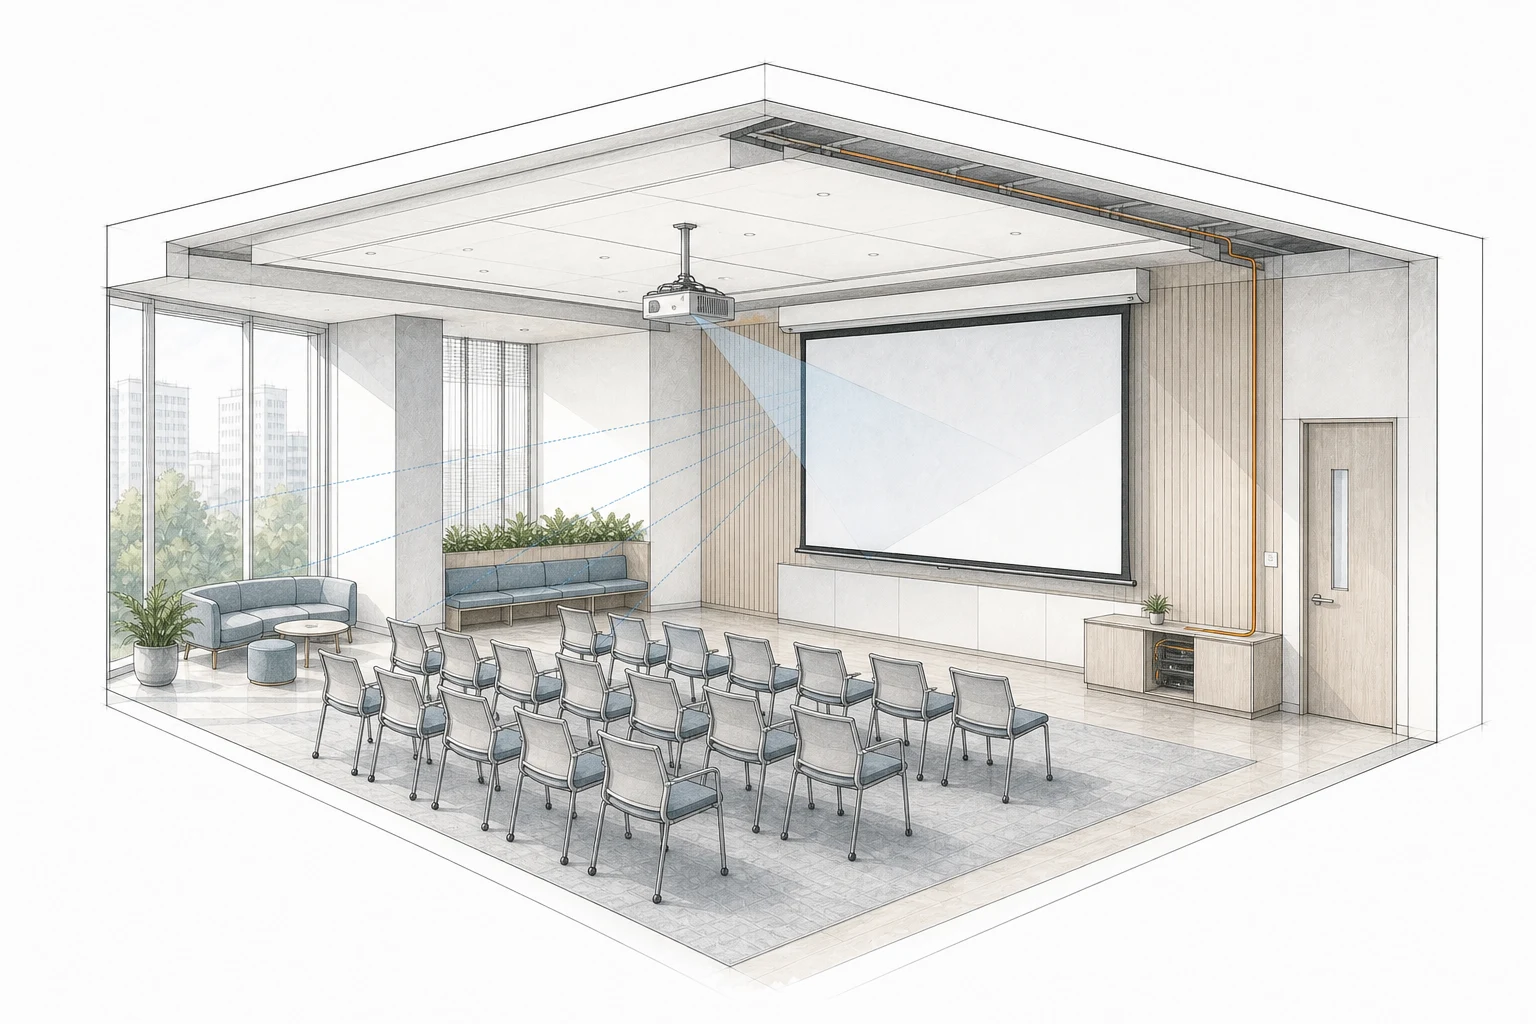
GRANDVIEW
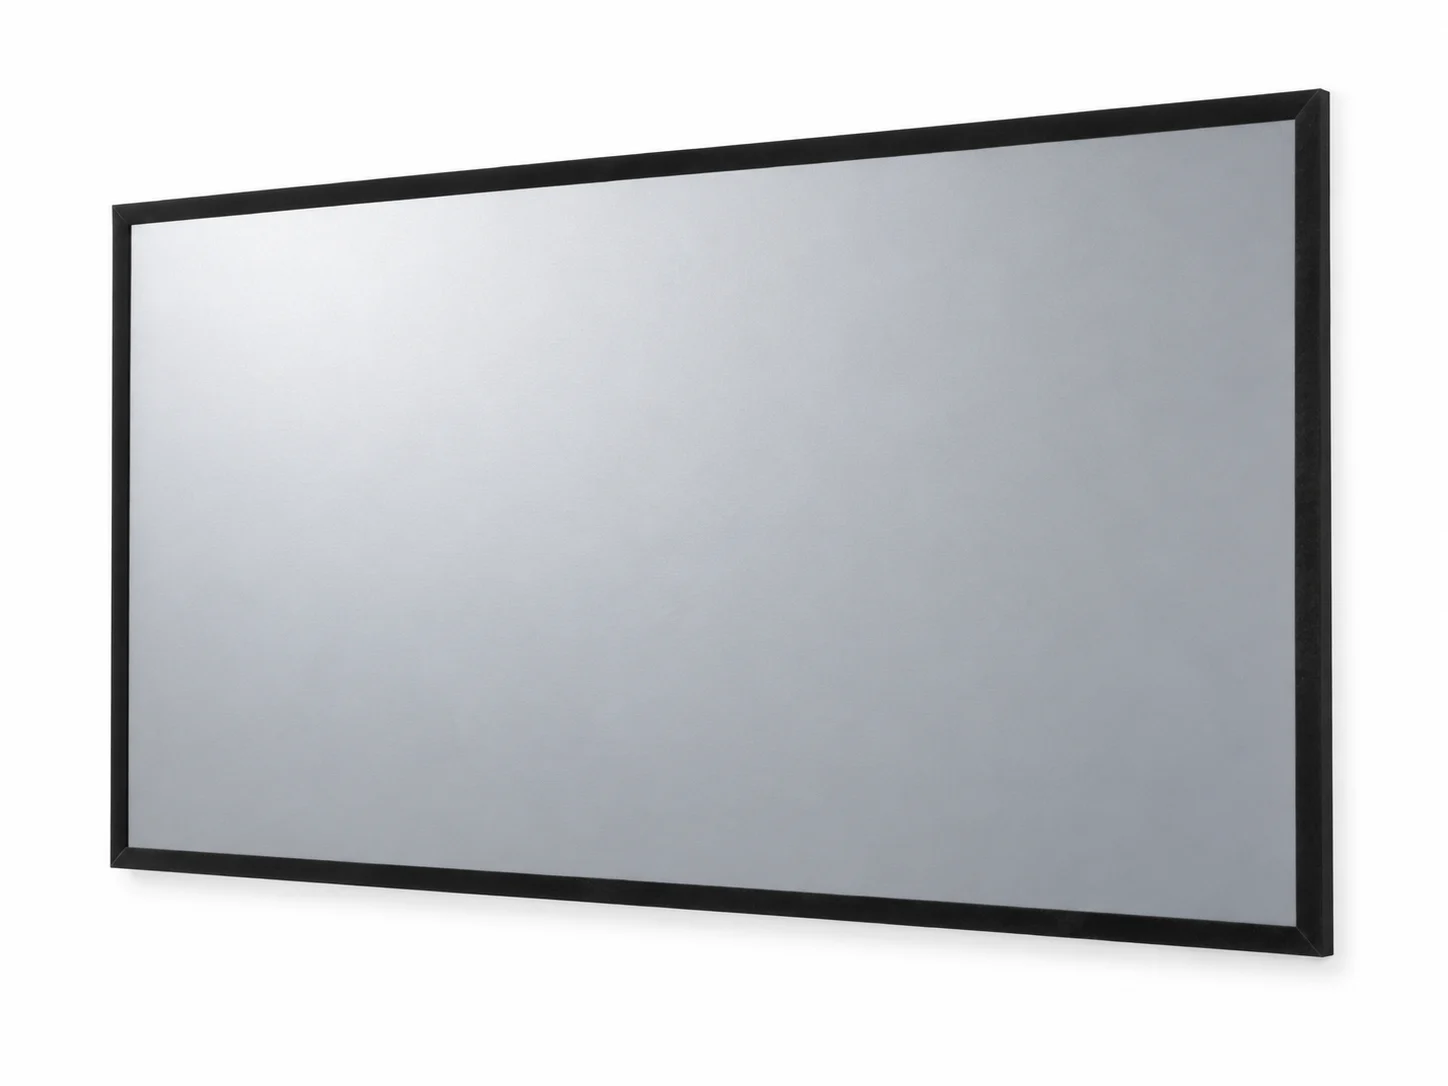
Legacy Series Tab Tensioned Screen / LE-T
A motorised matte white screen with lateral tab tension for installed home theatres and professional AV rooms.

Grandview Legacy Series / LE-T tab tensioned screen
A flatter motorised surface for installed rooms.
The LE-T adds lateral tab tension to the retractable matte white surface. It is intended for premium home theatre and professional AV installations where a controlled, flat image plane matters between the casing and the viewing area.
- Screen type
- Tab tensioned, integrated motorised
- Viewing surface
- Matte white with lateral tabs
- Viewing angle
- 160°
- Warranty
- 36 months
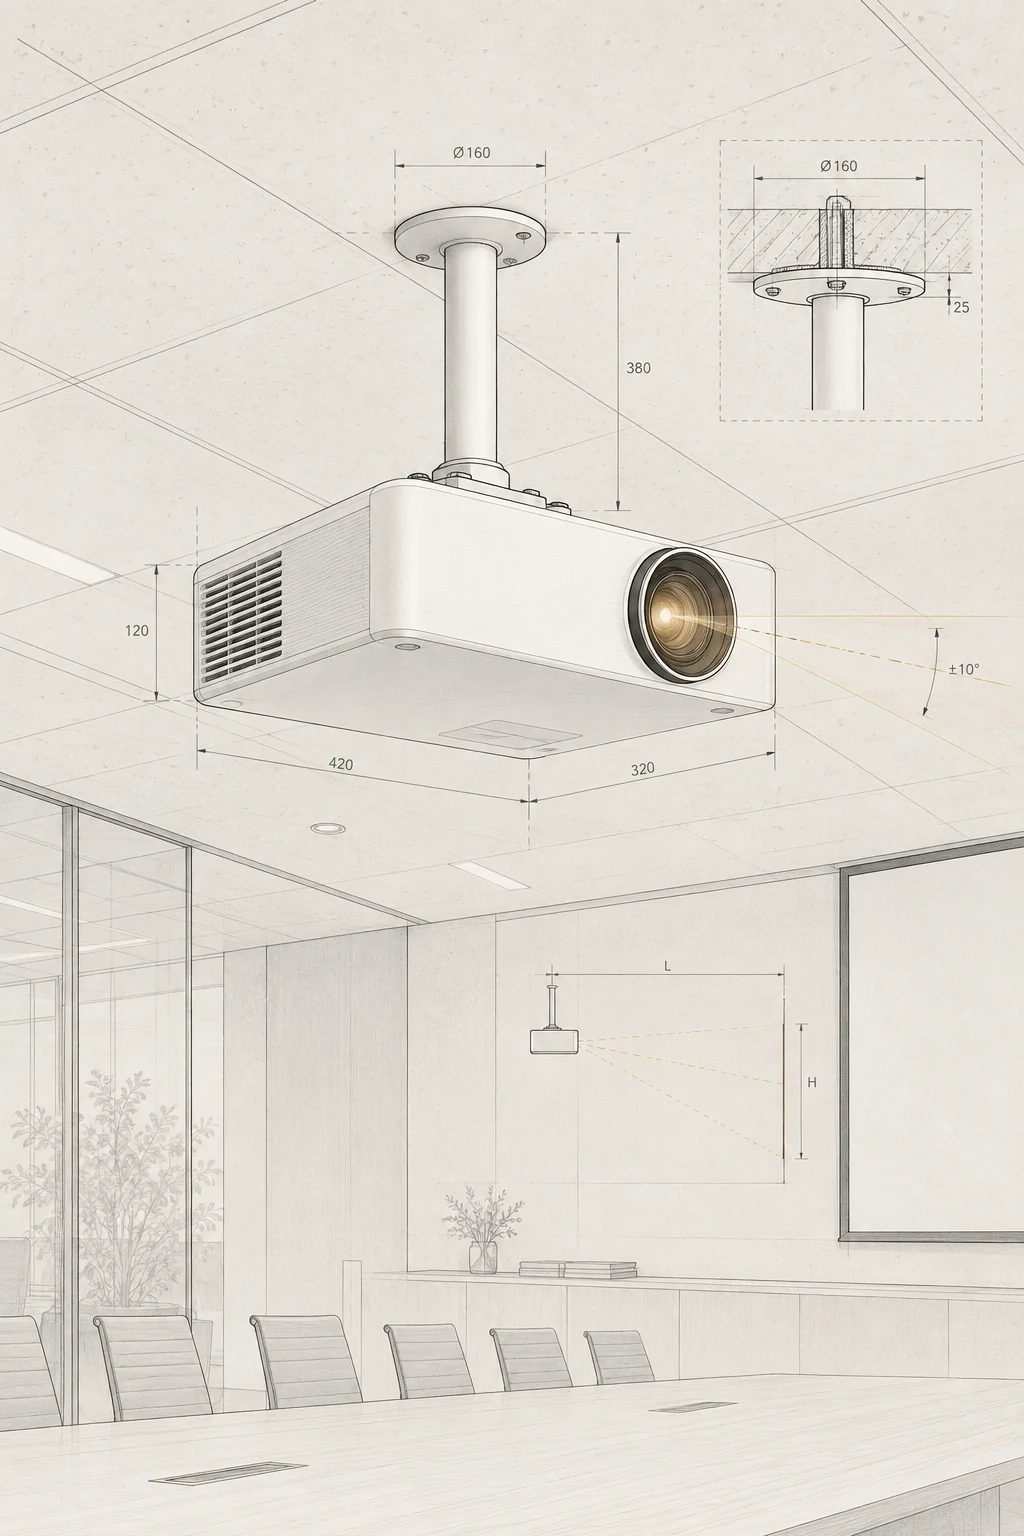
The verified family record supports most projectors. Confirm throw distance, brightness and image alignment for the chosen projector and fabric; no numeric gain or UST compatibility is published in the record.
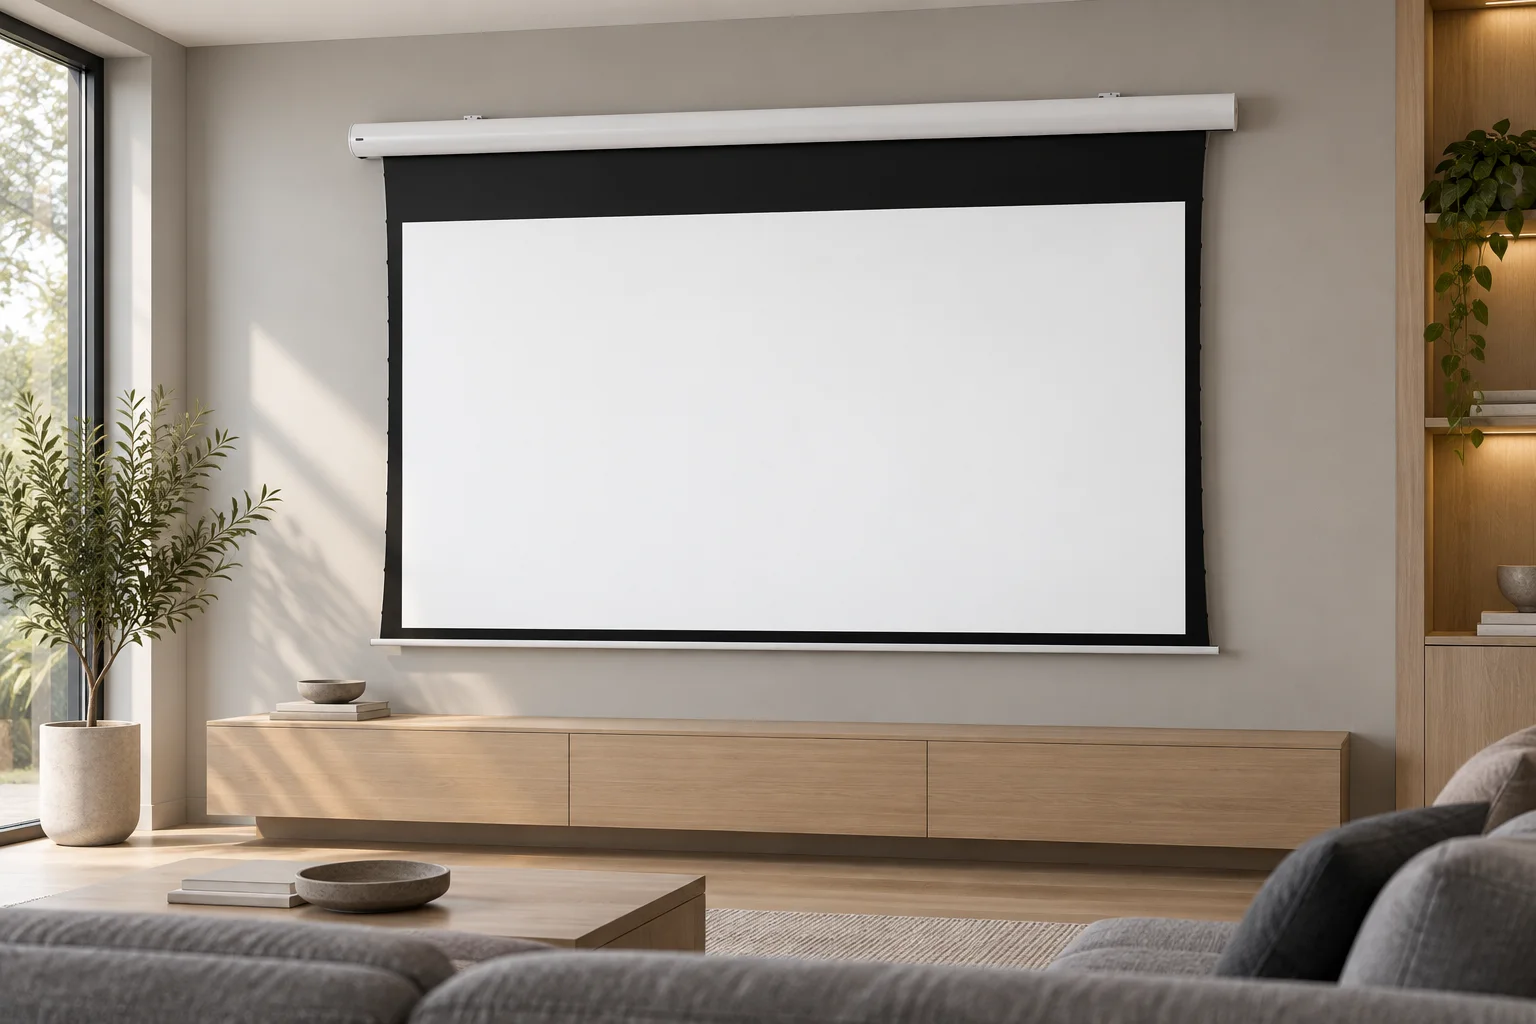
The motor retracts the screen; the tabs keep the surface controlled.
The LE-T uses a robust metal casing and matte white projection fabric with lateral tab tension. Plan the casing, side clearance and service access together so the tensioned surface can travel without obstruction.
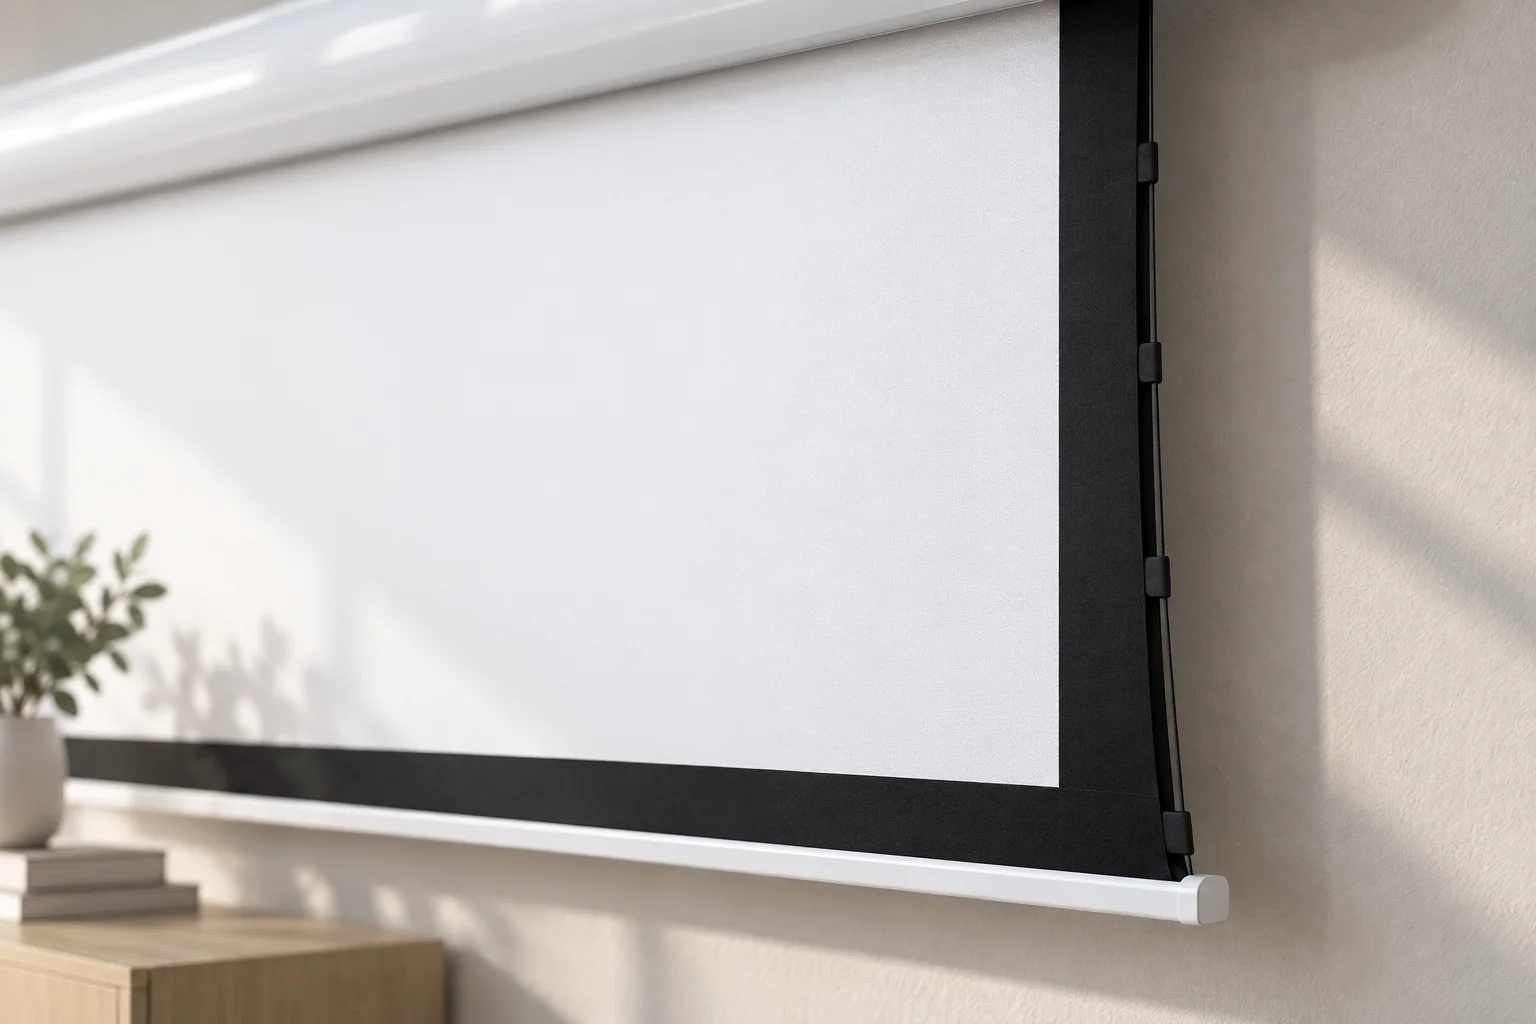
A robust casing above the viewing area
The casing holds the motorised roller and mounting points. Use the selected Model B profile from the verified family record for the initial fit study; confirm the supplied unit before building a recess.
Matte white fabric with lateral tabs
The side tabs maintain tension as the screen moves. Do not adjust the tension or disassemble the casing without current installation guidance; confirm the throw and brightness for the chosen fabric.
Size, casing, control and fit.
Match the brochure letters to the model table, check the selected casing profile and weight, then plan the floating brackets, controls, clearance and care before ordering.

05 2 models mm unless noted
A 16:9 viewing surface with lateral tab tension.
2 models| Model | Sizein diagonal | Priceex GST | W × Hviewing area | L × Atotal | B1top | B2side | Bottomborder | CasingL | Weightkg |
|---|---|---|---|---|---|---|---|---|---|
| 16:9 Widescreen | |||||||||
| LE-T100W | 100 | S$1,284.40 | 2,214 × 1,245 | 2,557 × 2,468 | 1000 | 50 | 50 | 2,557 | 20.5 |
| LE-T120W | 120 | S$1,605.50 | 2,656 × 1,494 | 2,849 × 2,693 | 1000 | 50 | 50 | 2,849 | 25.8 |
Retail ex GST. Dimensions and weights are separately attributed to the original LE-T specification sheet.
06 Motor and controls
The motor lowers the screen for viewing and retracts it into the casing. Confirm the supplied control set for the exact unit.
Raise and retract
The motor raises the projection surface into the casing and lowers it for viewing. Keep the full travel path clear.
Use supplied controls
Operate the current unit with its supplied controls. Before connection, confirm the unit voltage, frequency and power requirements against the supplied documentation, then confirm the controller, wiring and any accessory kit for the exact stock unit.
Leave the surface clear
Let the screen reach its intended viewing or retracted position without touching the fabric. Do not force, adjust or service the mechanism yourself.
07 Hardware and fit
- 2×Floating mounting brackets
- 8×40 mm tapping screws and caps
- 6×M5 × 10 screws
- 2×Ceiling hangers
- 1×Allen key
The brochure accessory panel lists the floating brackets, ceiling hangers, screws and Allen key above. Treat it as a packing-list reference and confirm the supplied kit before installation.
Wall mounting uses the included floating brackets. Ceiling mounting uses the provided hangers. Choose anchors for the substrate and the selected model weight.
08 Matte white + tabs

- Surface
- Matte white projection fabric
- Viewing angle
- 160°
- Gain
- Not published in the verified record
- Warranty
- 36-month manufacturer warranty
Hang the casing. Lock it level.
LE-T wall and ceiling mounting / illustrative brochure guide
The Grandview floating bracket system uses the same three-step sequence for the selected Legacy family: loosen the locking screw, hang the screen ridges on the hooks, then secure the screw. Wall and ceiling views below show the installation direction.


Unfasten the locking screw
Loosen the bottom locking screw on each floating bracket so the casing can be seated on its hooks.

Hang screen ridges on hooks
Lift the screen casing into position and hang its ridges on the bracket upper and lower hooks.

Secure the locking screw
With the casing seated and level, tighten the locking screw to secure the screen to the bracket.
Source noteBased on the Grandview LE-T product page and its installation brochure image. Confirm the supplied kit, anchors, substrate, clearance and load before installation.
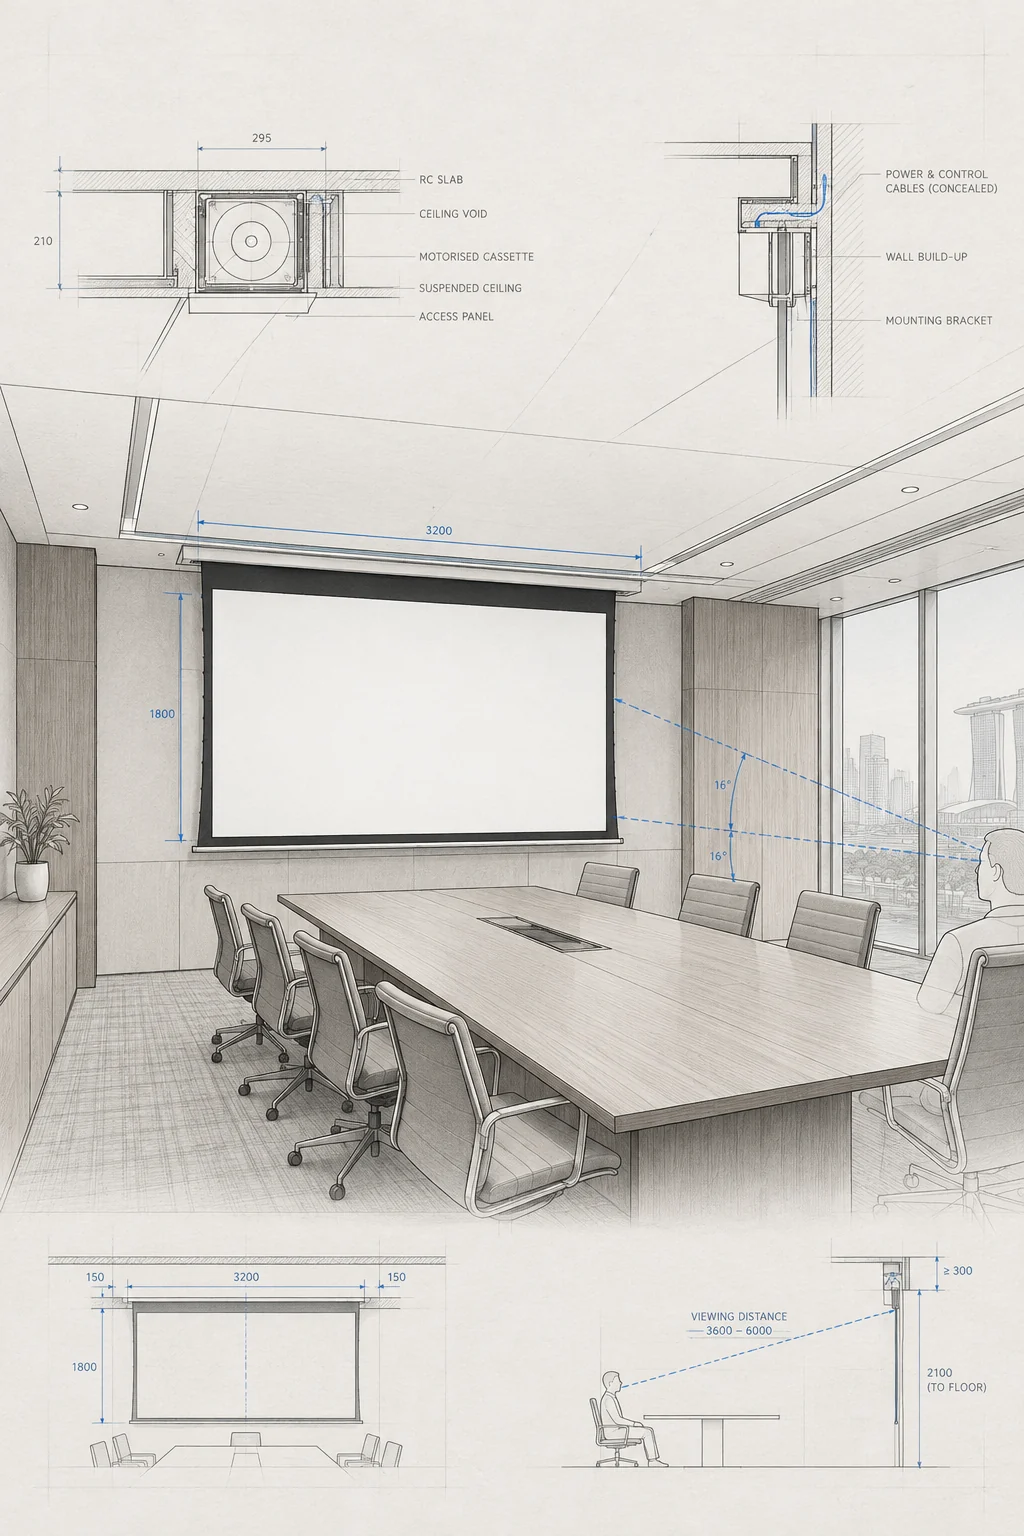
10 Clearance and load
Minimum recess clearance
- Clearance
- 150mm
- Profile
- 134 × 140mm with bracket
- Install on a flat, level surface.
- Check the wall, ceiling, brackets and anchors against the selected model weight.
- Keep the screen path and service access clear.
- The 3-pin power head exits on the left side when facing the screen.
- Confirm service access and the complete screen path before closing a recess.
11 Use and care
Everyday use
- Roll the screen away after use to protect the viewing surface from dust and contact.
- Keep the fabric path clear and operate the screen only with its supplied controls.
- Do not adjust the lateral tab tension or disassemble the casing; contact Big Shine or the installer for service.
Surface care
- Clean with a dry, soft cloth only.
- Avoid abrasives, chemical cleaners and other substances on the fabric or casing.
- Keep hands, pens and sharp objects away from the projection surface.
- Prices, warranty, surface, viewing angle and mounting guidance follow the verified family records. The database model specs are blank, so dimensions and weights are separately attributed to the original brochure.
- The LE-T brochure also shows a larger Model A profile. These selected models use the database-supported Model B case: 114 mm deep × 123 mm high, or 134 mm × 140 mm with brackets.
- The family record supports most projectors. Numeric gain and UST compatibility are not published here; confirm throw, brightness and image alignment for the chosen projector and fabric.
- Read the original LE-T product page and confirm the current supplied bracket, controls, dimensions and installation clearances with Big Shine.
See it in action
Gallery
Original manufacturer brochure references. The selected database family uses the Model B profile; confirm the supplied unit and kit.